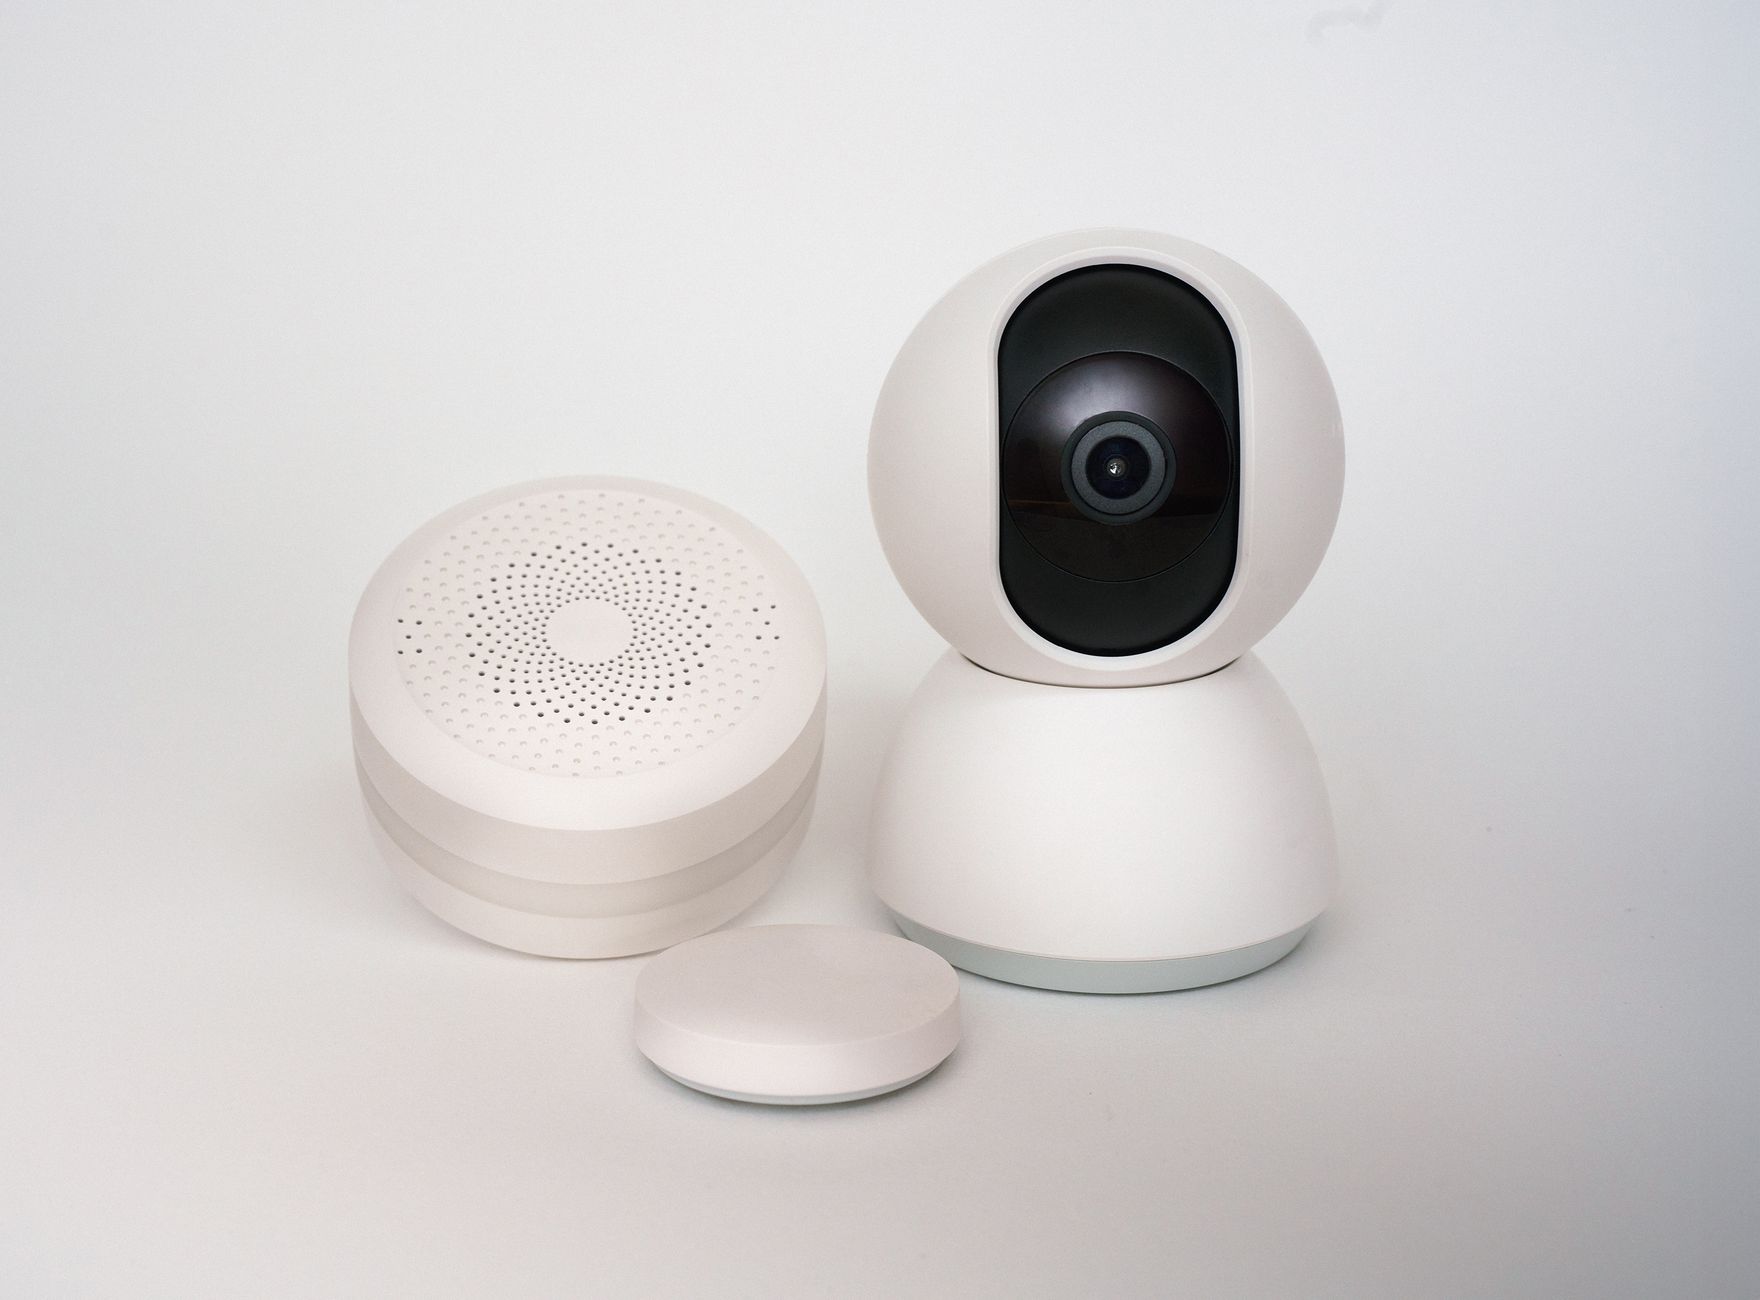
Home Assistant is the most powerful open-source smart home platform available today — and running it on a Raspberry Pi 4 gives you a fully local, subscription-free smart home hub for under $80. This guide walks you through every step, from downloading the image to your first automation.
What You Need
Before you start, gather the following hardware:
- Raspberry Pi 4 (2GB RAM minimum, 4GB recommended)
- MicroSD card — 32GB or larger, Class 10 or faster
- USB-C power supply (official Raspberry Pi adapter preferred)
- Ethernet cable (strongly recommended over Wi-Fi for stability)
- A computer with an SD card reader
You do not need a monitor, keyboard, or mouse — Home Assistant runs headless.
Step 1: Download the Home Assistant OS Image
Go to home-assistant.io and navigate to Installation → Raspberry Pi. Download the latest Home Assistant OS image for Raspberry Pi 4 (64-bit). This is the recommended installation method — it gives you automatic updates, add-on support, and the full Supervisor interface.
Step 2: Flash the Image to Your SD Card
Download and install Balena Etcher (free, available for Mac, Windows, and Linux). Open Etcher, select the downloaded .img.xz file, select your SD card, and click Flash. The process takes about 5 minutes.
Alternatively, the Raspberry Pi Imager tool can flash Home Assistant OS directly from within the app — search for “Home Assistant” in the operating system list.
Step 3: First Boot
Insert the flashed SD card into your Raspberry Pi 4, connect the Ethernet cable, and plug in the power. The first boot takes 10–20 minutes as Home Assistant downloads and installs the latest version. Do not interrupt this process.
Open a browser on any device on the same network and go to http://homeassistant.local:8123. If that does not work, find the Pi IP address from your router and use http://192.168.x.x:8123 instead.
Step 4: Initial Setup Wizard
The setup wizard will guide you through creating your admin account, setting your location and timezone, and auto-discovering devices on your network. Home Assistant will automatically detect many devices — Philips Hue bridges, Sonos speakers, Chromecast devices, and more.
Step 5: Install Key Add-ons
Navigate to Settings → Add-ons → Add-on Store and install these essentials:
- Studio Code Server — edit configuration files directly in the browser
- Terminal & SSH — command-line access from the browser
- Mosquitto Broker — local MQTT broker for Zigbee and other devices
Step 6: Your First Automation
Go to Settings → Automations → Create Automation. A simple first automation: turn on a light when motion is detected. Set the trigger to your motion sensor, the action to turn on a light, and optionally add a condition limiting it to after sunset. Save and test — everything runs locally, with no cloud required.
SSD vs SD Card
SD cards can fail after heavy write cycles. For a long-term installation, boot from a USB SSD instead. A 120GB SSD costs around $20–30 and dramatically improves both speed and reliability. The setup process is the same — just flash to the SSD and connect via USB 3.0.
Next Steps
With Home Assistant running, explore integrations for your existing devices, set up a Zigbee coordinator for local device control, and check out the Frigate NVR add-on if you want local security cameras. The Home Assistant community at community.home-assistant.io is one of the most helpful in the tech world.
After the install: a short hardening checklist
A fresh Home Assistant install is functional but not yet locked down. Before connecting anything sensitive (locks, cameras), spend ten minutes on:
- Strong admin password and, if you ever expose the instance beyond your LAN, enable two-factor authentication under your profile.
- HTTPS even locally. The free Let’s Encrypt or a self-signed certificate via the built-in add-on stops credentials from ever crossing your network in plain text, including from that tablet dashboard.
- A dedicated non-admin user for anyone who just needs to view the dashboard (a house-sitter, a kid) instead of sharing the admin login.
When the install doesn’t go smoothly
- Boot loop / never reaches setup: almost always a bad SD card write. Re-flash with Raspberry Pi Imager (not a generic tool) and verify the image after writing rather than assuming it worked.
- Can’t find homeassistant.local:8123: mDNS discovery fails on some routers/networks. Find the Pi’s IP directly from your router’s device list and use
http://[IP]:8123instead. - Repeated SD card corruption over time: this is the most common long-term Pi failure mode. Moving to a USB SSD (mentioned above) all but eliminates it — if you’ve had a card die once, don’t wait for it to happen again.
Free guide — no signup
Trying to cut the cloud out of your smart home? This is the whole map in one place.