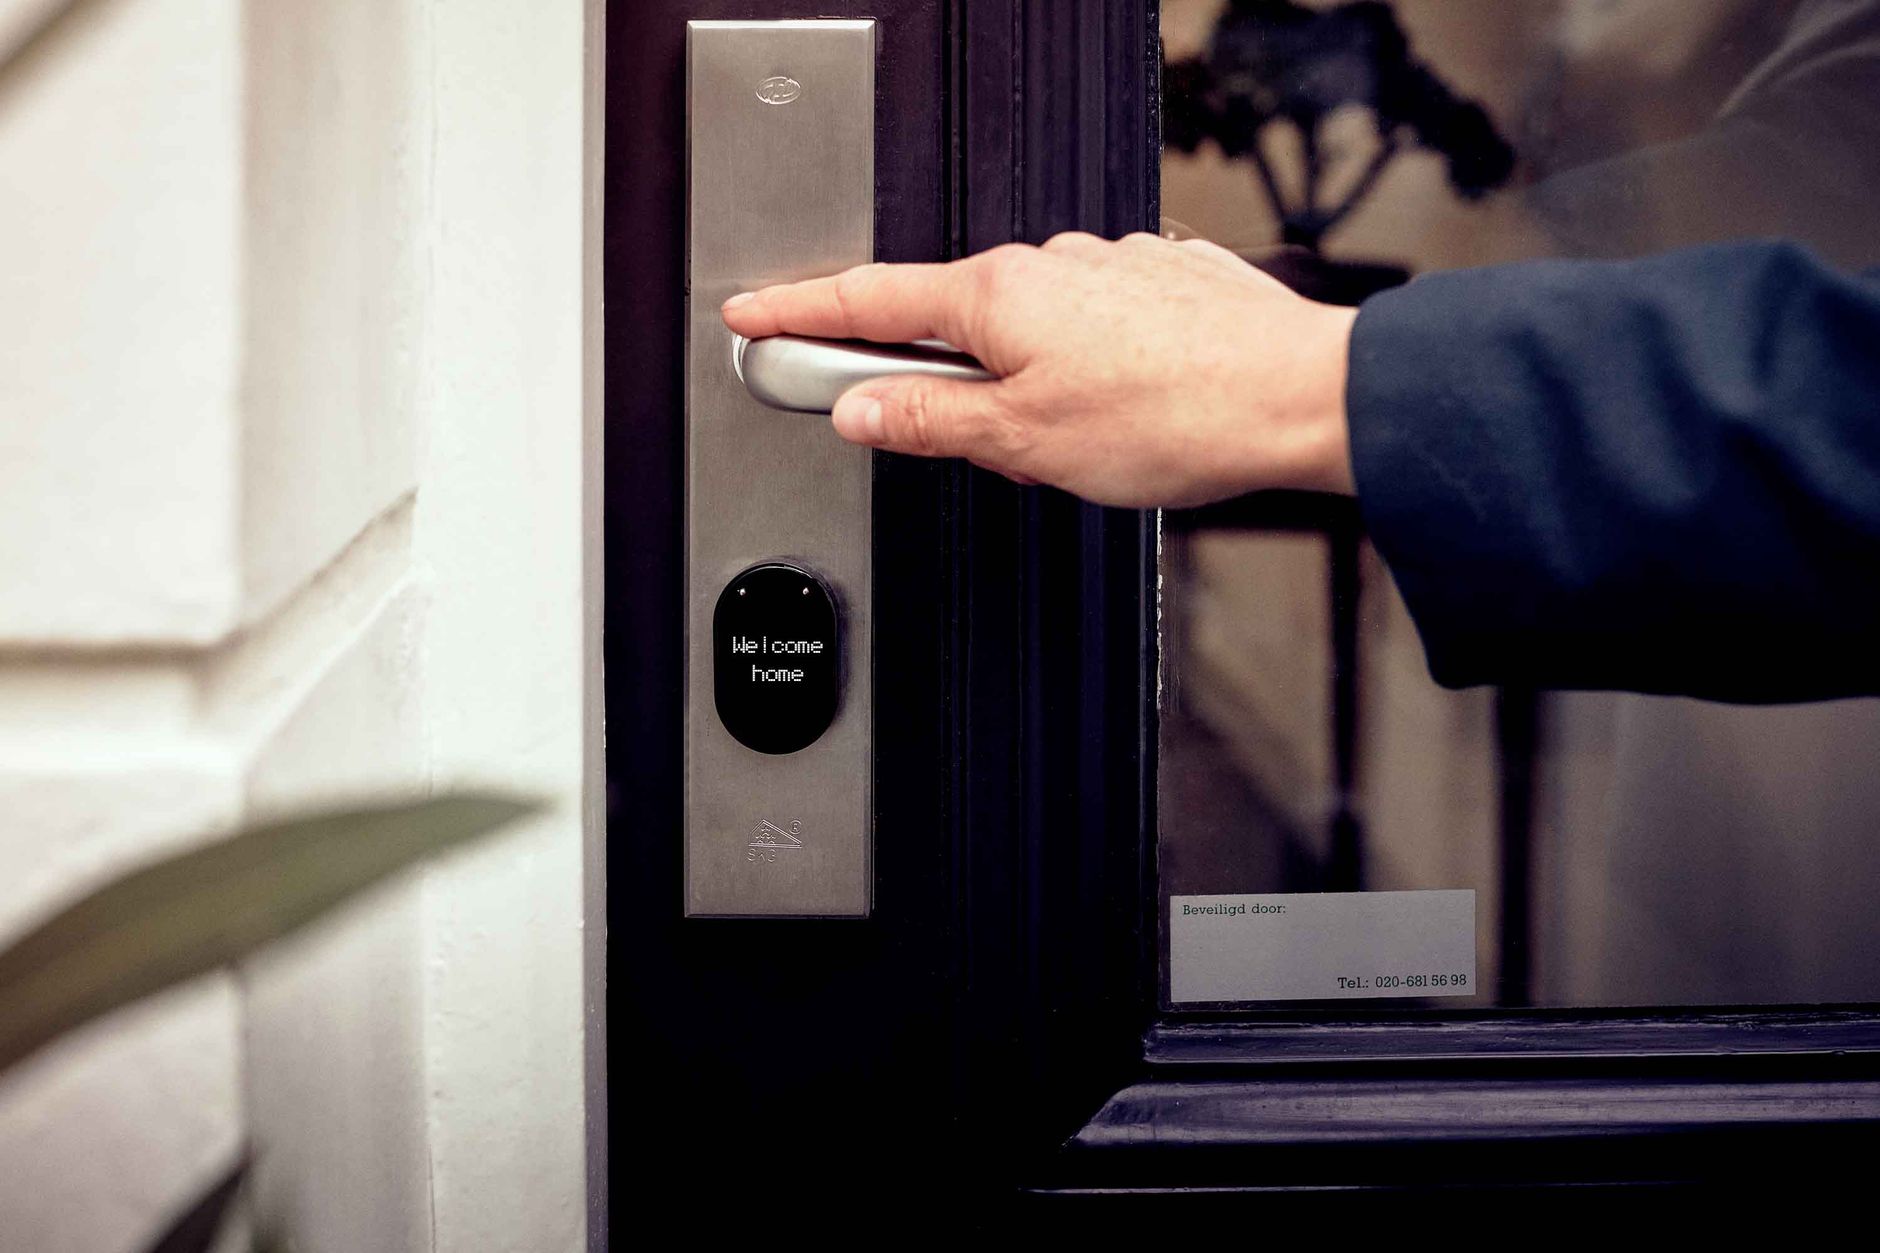
Adding a smart lock to Home Assistant gives you local, instant control — lock status updates in under a second, automations fire reliably, and nothing routes through a manufacturer cloud. This guide covers the complete setup process for Z-Wave smart locks.
Prerequisites
- Home Assistant running on a Raspberry Pi 4, mini PC, or similar hardware
- A Z-Wave USB coordinator (for Z-Wave locks)
- Z-Wave JS integration configured in Home Assistant
- A compatible smart lock (see our Smart Locks Without Subscriptions guide)
Step 1: Install Your Z-Wave Coordinator
Plug the USB coordinator into your Home Assistant host. Navigate to Settings → Hardware to verify the USB device is detected. Install the Z-Wave JS UI add-on from the add-on store.
Step 2: Include the Lock in Your Z-Wave Network
Smart locks use Z-Wave Security S2. The inclusion process requires a security handshake.
- In Z-Wave JS UI, click Add Node → Secure Add
- Enter the 5-digit DSK code found on the back of the lock or in the manual
- Put the lock in inclusion mode — typically triple-clicking the button inside the battery compartment
- The inclusion process takes 15–30 seconds. The lock will beep to confirm.
Important: Perform inclusion with the lock close to your Z-Wave coordinator — within 3 meters if possible. Move the lock to its final location after successful inclusion.
Step 3: Verify the Lock in Home Assistant
After inclusion, navigate to Settings → Integrations → Z-Wave JS. Your lock should appear as a new device with these entities: lock.your_lock_name (main lock entity), binary_sensor.your_lock_name_door (door open/closed), and sensor.your_lock_name_battery (battery percentage).
Step 4: Add Access Codes via Home Assistant
The Lock Code Manager integration (available via HACS) provides a clean interface for managing access codes. Install HACS, then Lock Code Manager, and navigate to the interface to add codes with names and optionally restrict them to specific days and times.
Example: Create a “Dog Walker” code that only works Monday–Friday between 11am and 2pm. Create a “Guest” code that expires automatically after your guest stay.
Step 5: Create Lock Automations
Auto-Lock After 10 Minutes: Trigger when lock state changes to unlocked, delay 10 minutes, condition that lock is still unlocked, action to lock the door.
Notify When Door Unlocked After 10pm: Trigger on unlock, condition time is between 10pm and 7am, action to send notification to phone.
Welcome Home: Trigger when lock is unlocked via code slot 1, action to turn on entry lights, disarm alarm, run welcome scene.
Troubleshooting Common Issues
Lock not responding: Z-Wave locks are battery-powered and use a sleep mode to conserve battery. Command response may take 5–10 seconds if the lock is in sleep mode. This is normal.
Lock included without S2 security: Remove and re-include with Secure Add. S2 encryption is important for locks — do not skip it.
Range issues: Locks are often near exterior walls. Add a Z-Wave range extender between the hub and lock if commands are unreliable.
Managing codes properly (not just adding them)
Adding a code is the easy part covered above. The part that actually matters day to day is treating codes as something you manage, not set once:
- One code per person, always. It costs nothing extra on a Z-Wave lock, and it means the lock event log tells you who came in, not just that someone did — genuinely useful information a shared code throws away.
- Automate expiring codes. With Lock Code Manager, a code can be tied to a schedule (a time window, or a specific date range) so a dog-walker’s or contractor’s access removes itself — nobody has to remember to revoke it.
- Alert on unusual events, not every event. A notification for every single unlock gets ignored fast. A more useful automation: alert only on unlock events outside your normal hours (say, midnight–6am) or when a code you didn’t expect gets used.
Backing up your Z-Wave network before it bites you
The one Z-Wave-specific disaster worth planning for: losing your coordinator (USB stick dies, gets unplugged and forgotten) means re-including every device from scratch — locks included, which means physically re-pairing at the door. Z-Wave JS UI has a built-in network backup feature (Settings → General → Backup NVM) that exports the entire mesh, including your locks’ security keys, to a file in seconds. Do this once after setup and again after adding any new device. Restoring from a backup onto a replacement coordinator takes minutes instead of an afternoon re-pairing every lock and sensor in the house.
Free guide — no signup
Trying to cut the cloud out of your smart home? This is the whole map in one place.